My art form and why I chose it: Photography
Introduction
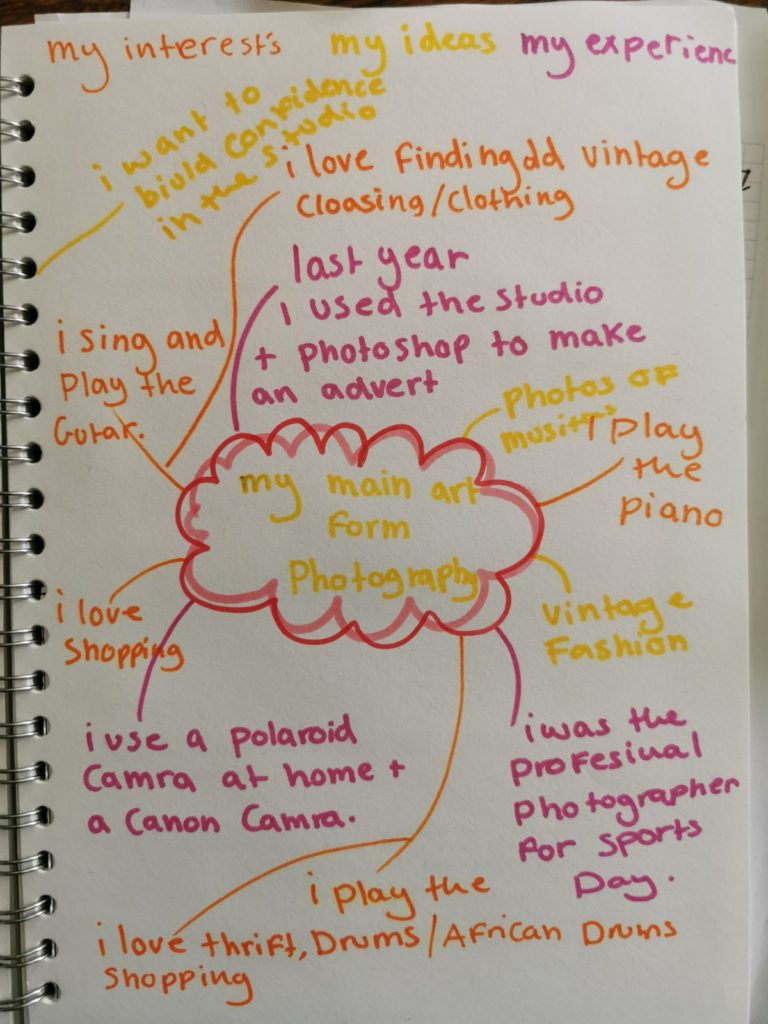
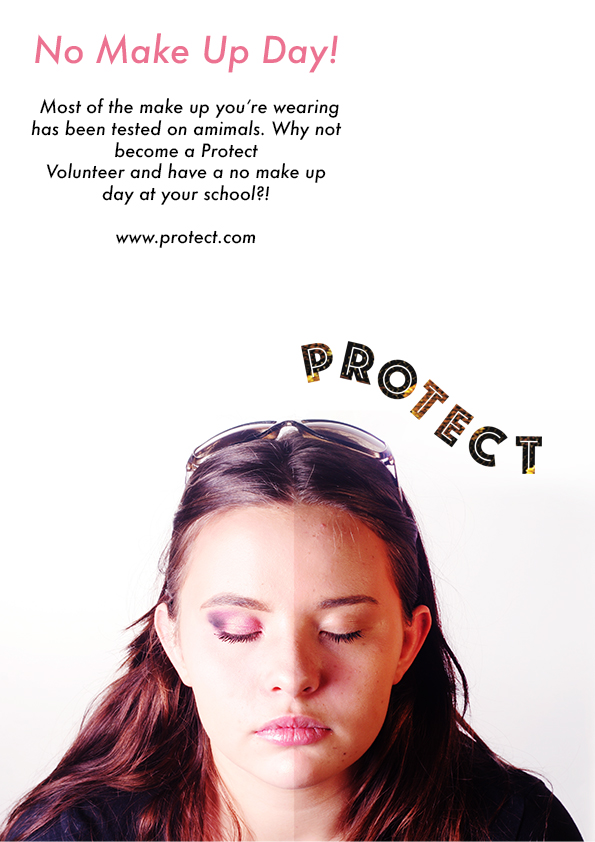
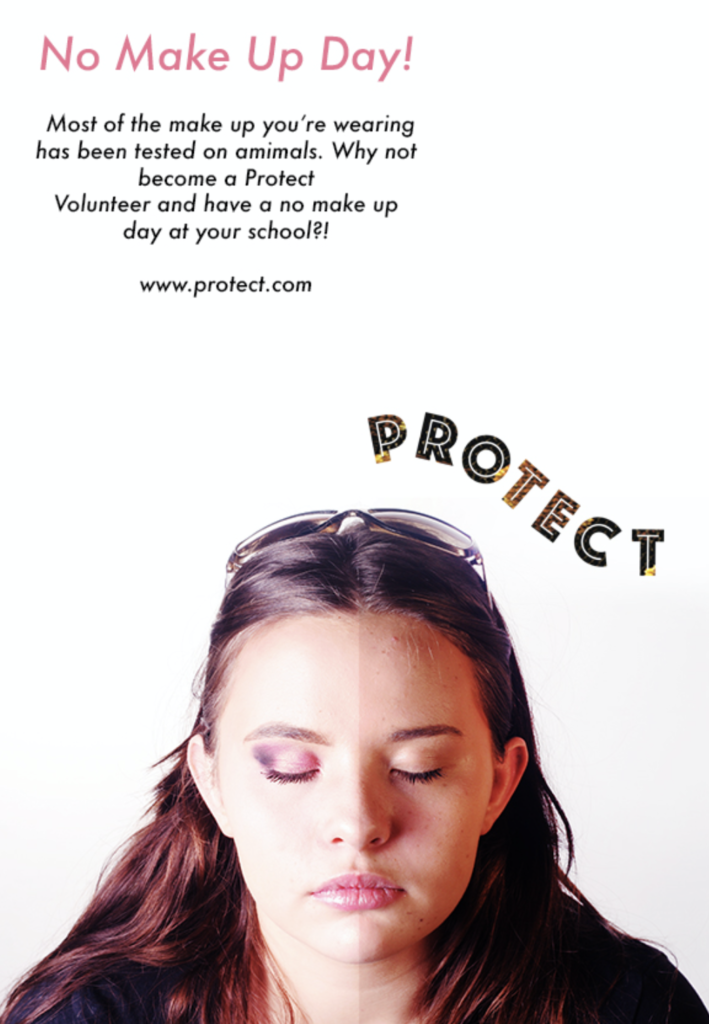
I was always interested in photography although I mostly used my phone to take pictures. I posted edited images on my Instagram. At school, I did GCSE media studies and I got to use my photography skills to create an advert for my Media Coursework. Because I was good at photography, I was asked to take photos at the school sports day.
When I was thinking about gold Arts Award, I wanted to develop my photography skills. I had just used my phone at first and also my polaroid camera, but in GCSE Media I learnt how to use a digital SLR camera and I learnt about exposure and composition. Digital photography is great but I knew that there was more to learn about photography and its history. I wanted to learn more about how cameras work, about film photography, and about studio lighting. My art teacher used to work in the fashion photography industry so I learnt a lot from her and from my own research, You can find out more about that in the first part of this section.
Coming up with an idea
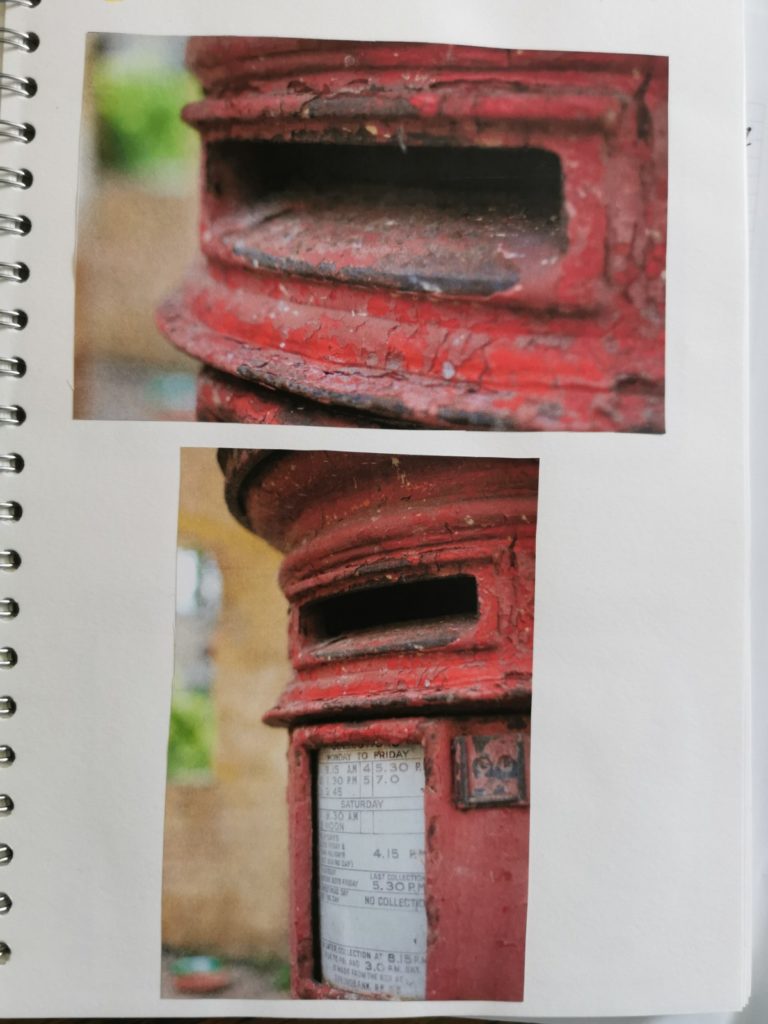
Here are some of the photos I took before I started this project:


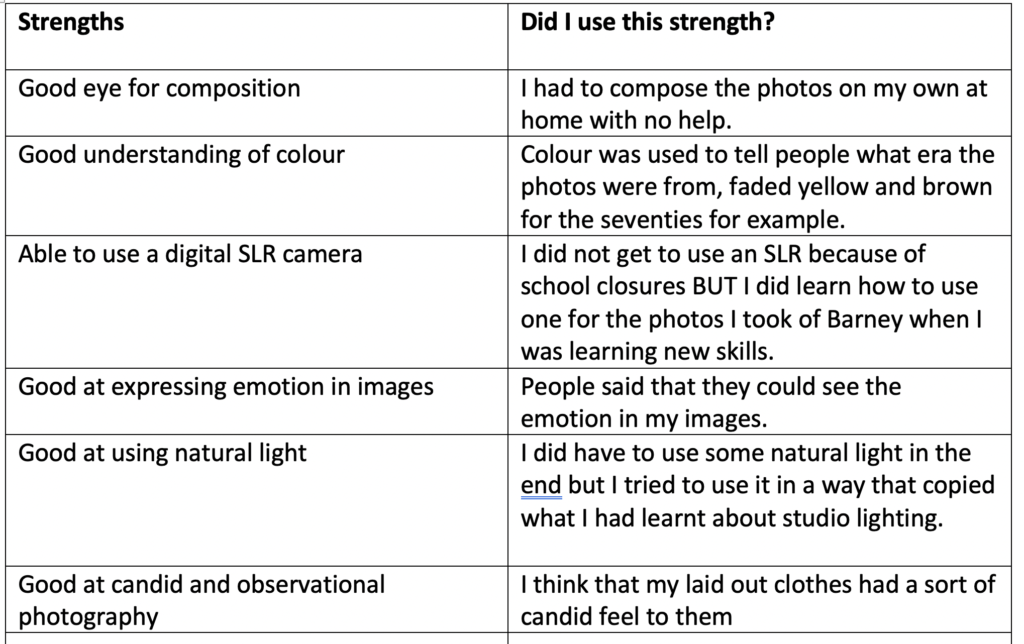
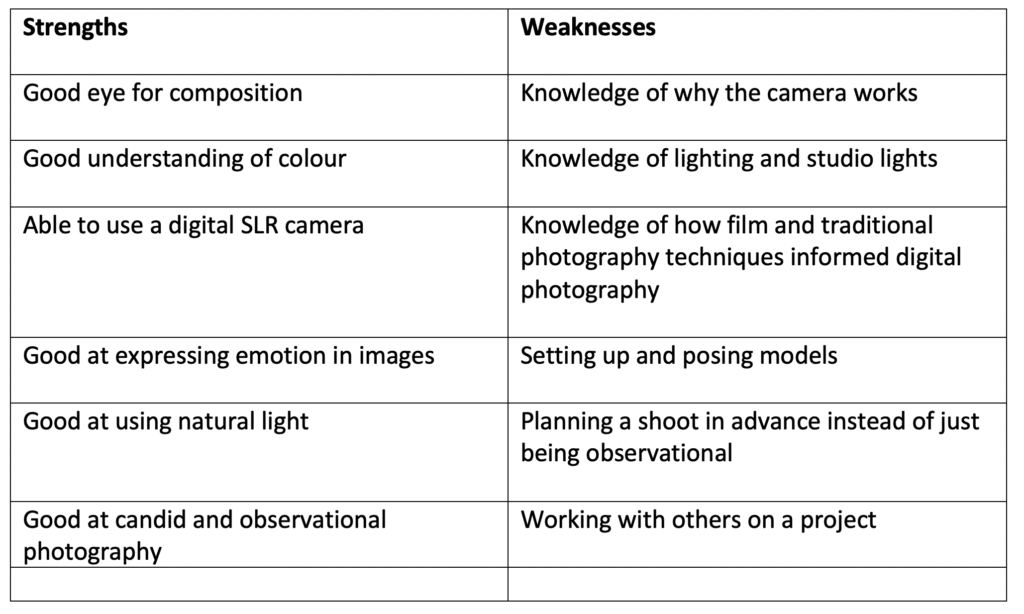
My Strengths and Weaknesses as a photographer
My project plan
My main art form is photography and I want to branch out into vintage fashion photography. I will create a set of vintage fashion photos, each image will represent a different era, I will also attempt to use processing techniques from the era the fashion is from.
To collect research I will:
- Go to charity shops around London and go see if I can find anything in my house
- Ask my family if they have any clothing that will go with my theme of vintage photography
- I will search up on the internet to see what they wore in the 70s, 80s, 90s and onwards so I can see what I will have to buy
- I will research vintage processing techniques to try and match them to the era
To plan, practise, and prepare for my project I will:
- Find a local photography studio to visit and talk about my fashion photography
- Research photographers who take fashion photography
- Ask teachers if they have any vintage clothes
- Draw the layout and lighting diagram for each photo.
To create my project I will:
- Ask people to model and then dress them up in the vintage clothes
- Get a pop-up fashion studio set up to take pictures of my fashion project (*this is one of the things I had to change when schools closed. My house became my pop up studio!)
- Take photos with vintage and modern cameras (*another thing I had to change, I ended up using a combination of my phone and my polaroid camera at home.)
- Develop the photos using traditional techniques (*another thing I had to change, instead I used Photoshop to mimic these techniques)
To evaluate the success of my project I will:
- Ask an arts practitioner for their professional opinion
- Send a survey round to everyone at my school asking them what they think of the project
- Write an evaluation based on my experience and my feedback
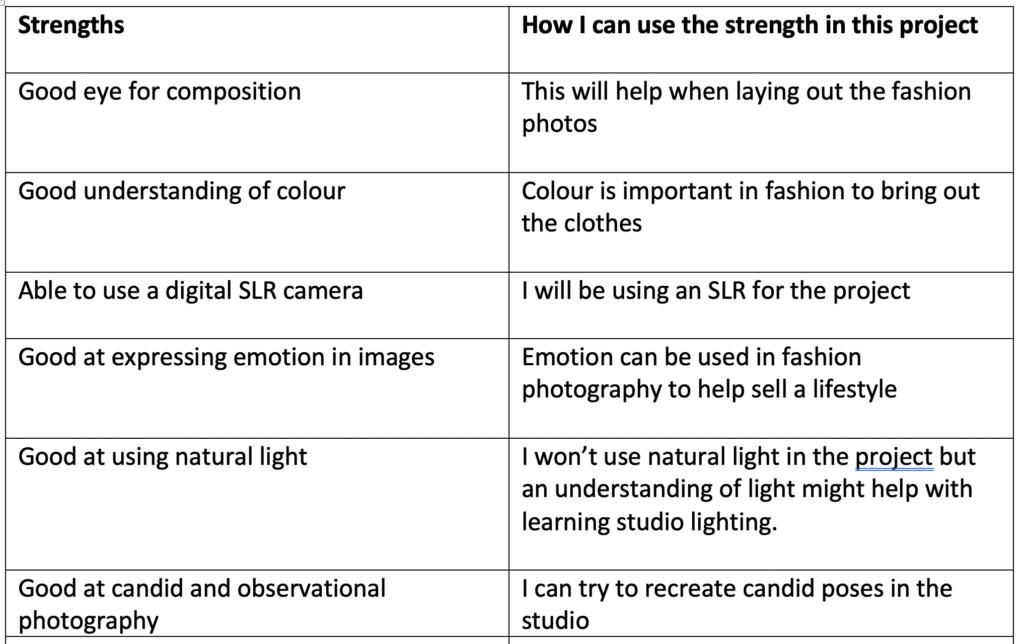
How my project will use my strengths
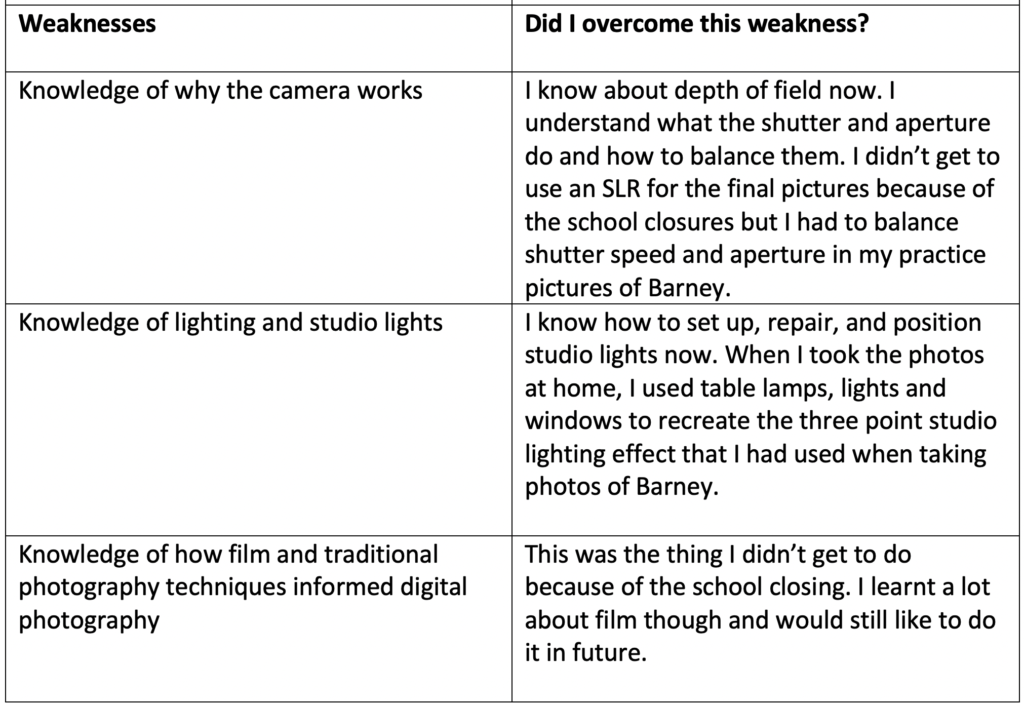
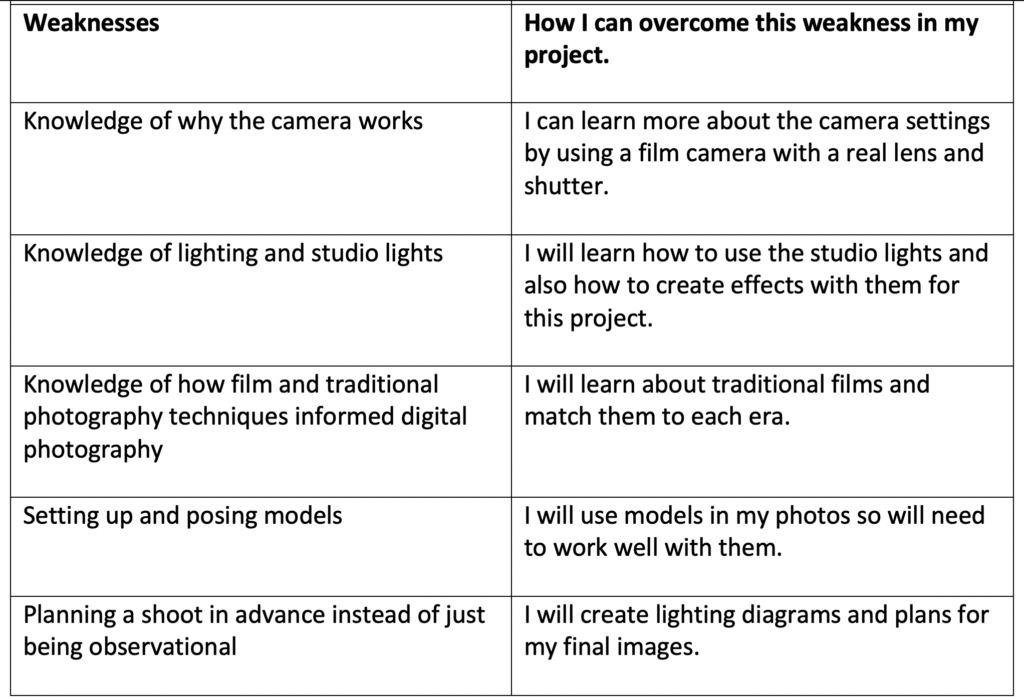
How my project will develop my weaknesses
Evidence of Progress
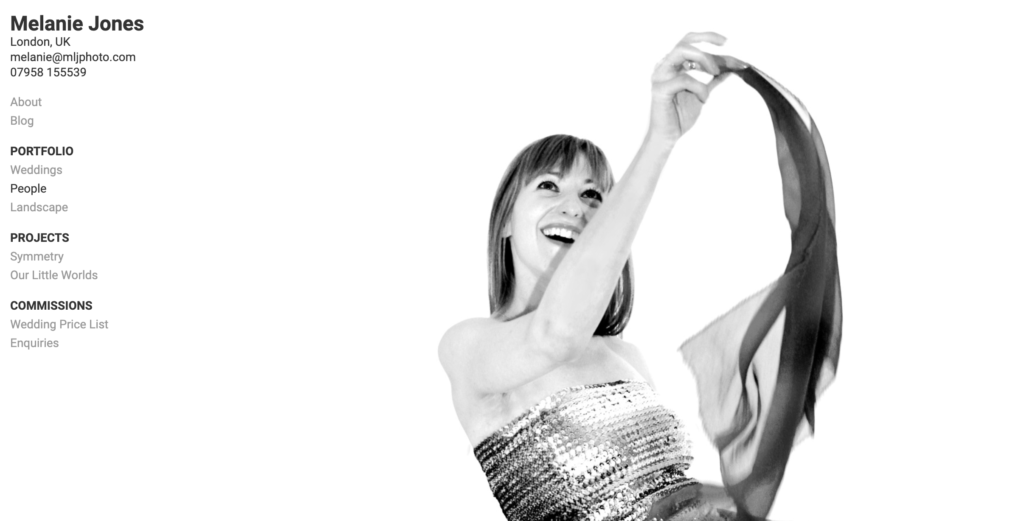
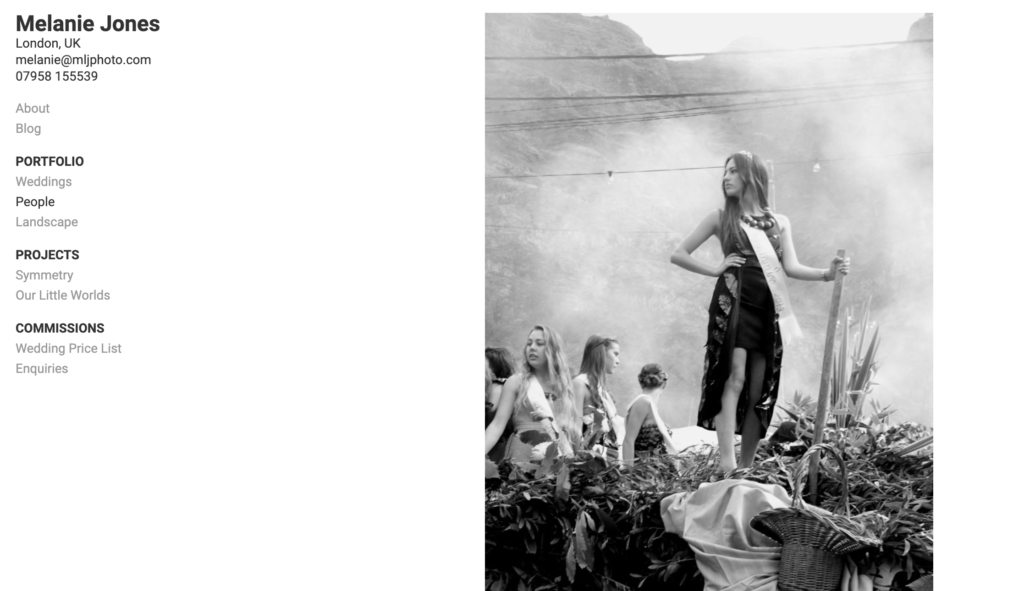
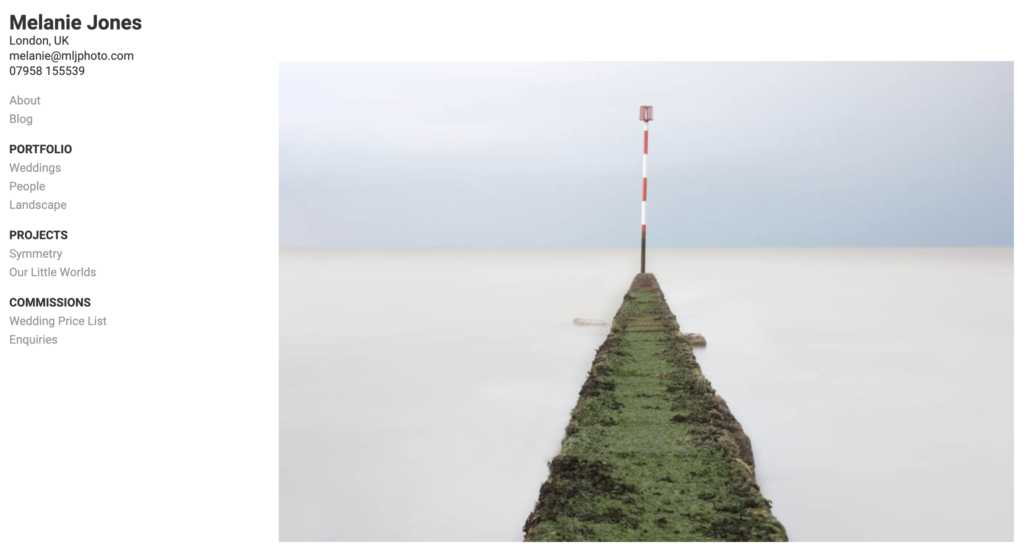
Working with a practitioner – Melanie Jones
Luckily for me, my Art teacher is also a fashion photographer and photography artist. Here is a link to her photography website: http://mljphoto.com/
And here is a screenshot of some of the photos on her page:
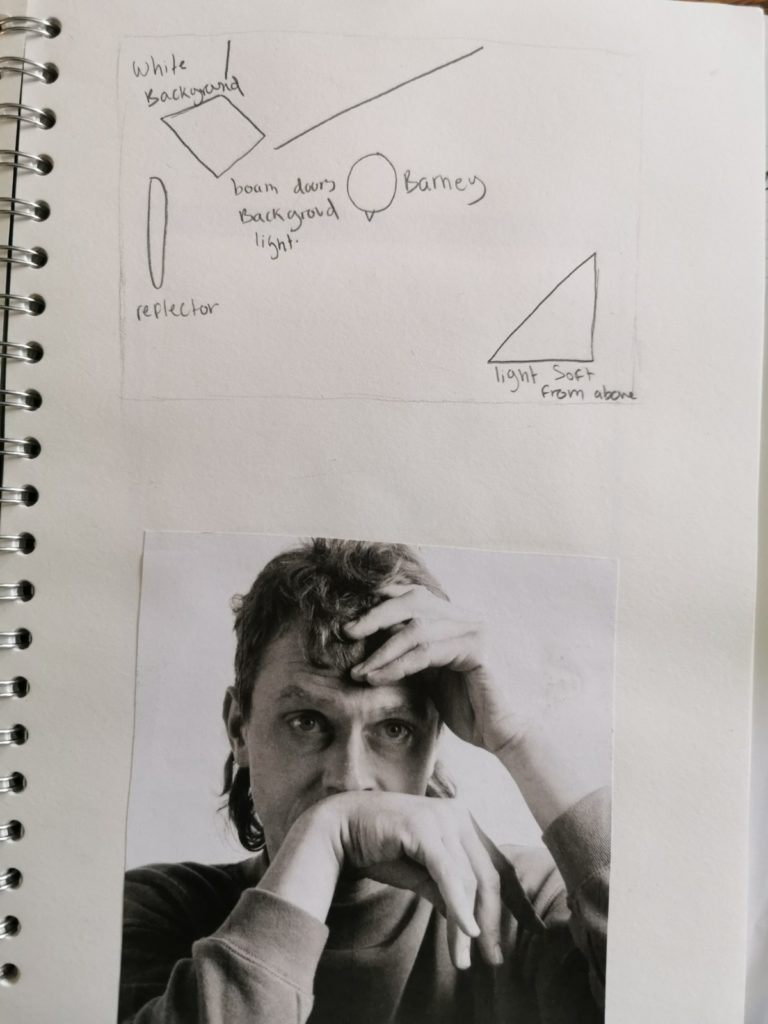
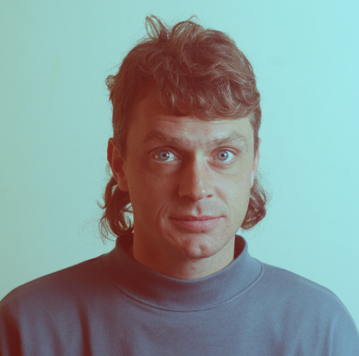
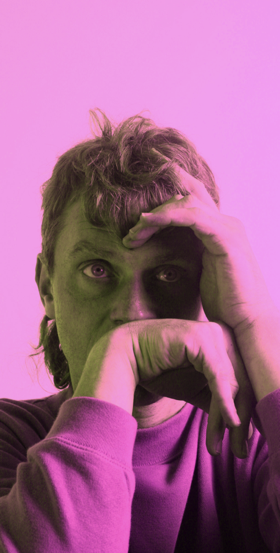
I wanted to get better at fashion photography, so to learn some new skills in the studio and in Photoshop. I did a project with Melanie to develop these skills where I took a series of images of my DT teacher Barney. I was inspired by this image of Colin Firth.

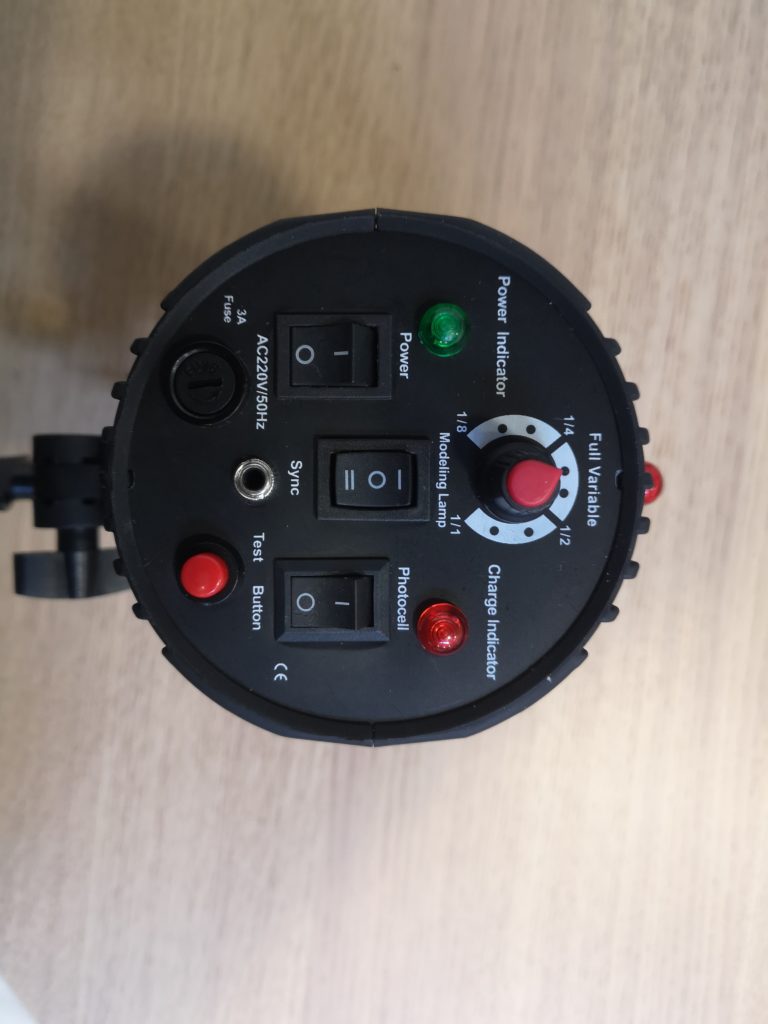
I found these tutorials for different lighting setups on the internet, and Melanie taught me more about the different ways to use lights and cameras I learnt about the studio lights and I even learnt how to replace a fuse and mend a broken light.
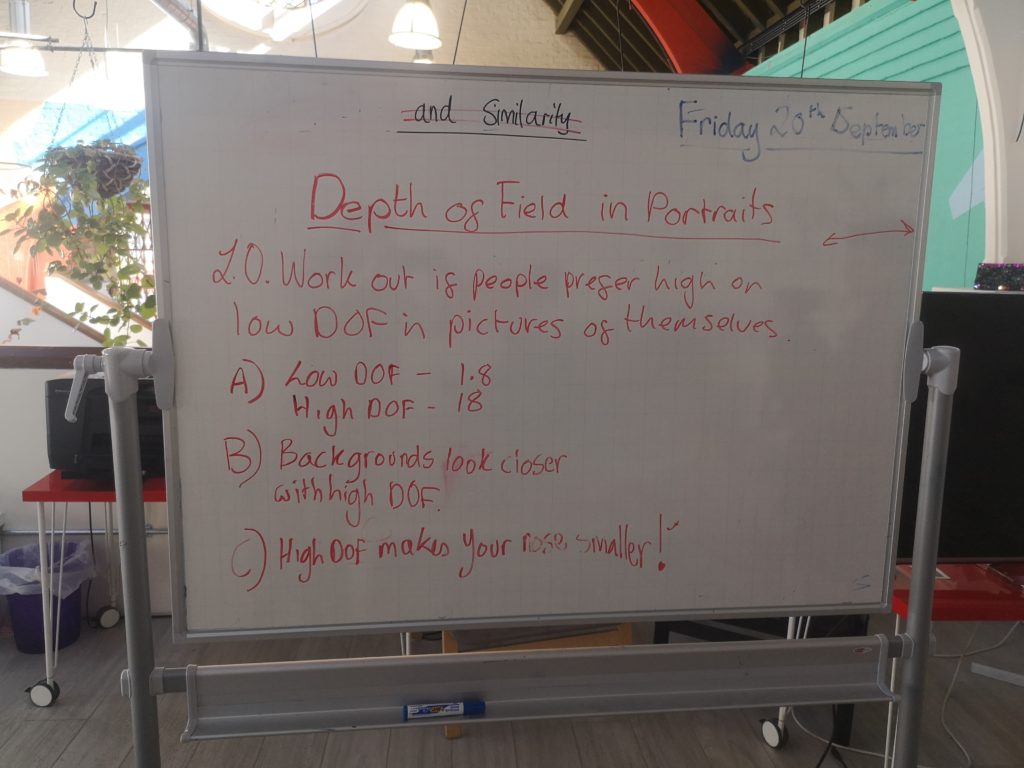
This is from a lesson I had with Melanie about Depth of Field
Repairing the lights
On of the studio lights had a blown fuse. They didn’t come with any instructions so me and Melanie did some research and I replaced it and mended the light.
Here is the video I found:
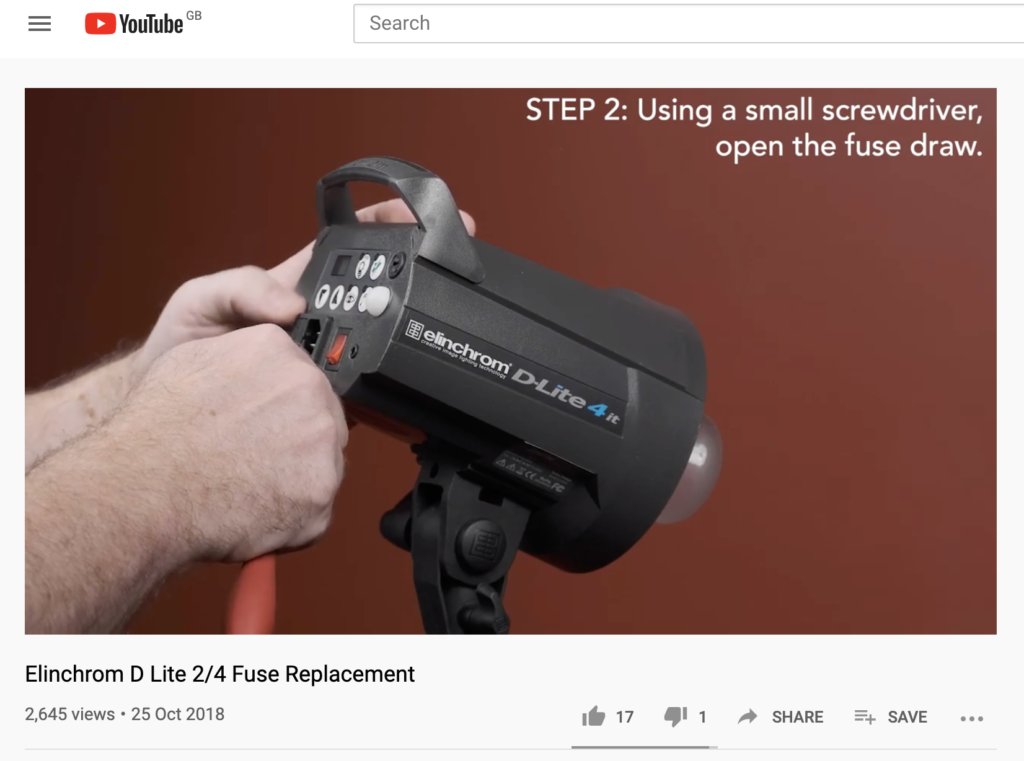
This is not the same light as the one at school but it is very similar. After this , Melanie did a PAT test to make sure the light was okay. You have to be trained to do this so I was only allowed to watch, basically she:
- attached two crocodile clips to the metal case and the wire
- Pressed the button on the machine
- Made sure the electricity wasn’t leaking out
- Stuck a sticker on it to show it was safe.
This showed that I had changed the fuse correctly and helped me understand more about the lights and how they can be dangerous.
My learning project with Melanie
When I had learnt all about the lights, I drew a lighting diagram for my practice portrait.
I set up the studio and took lots of photos of Barney, experimenting with using reflectors and different angles and poses. Because I am learning about vintage processing techniques, I learn to replicate these in Photoshop. I used a cross-process effect, a vintage wash effect, and a black and white effect. These are some of the photos I took in this learning shoot.

I also needed to learn about vintage processing techniques before I started and research what the school would need to buy to help me. We already had an enlarger and a polaroid camera but we needed film and photographic paper. My research into this is in my sketchbook and it will go here.
Preparing for the New Work
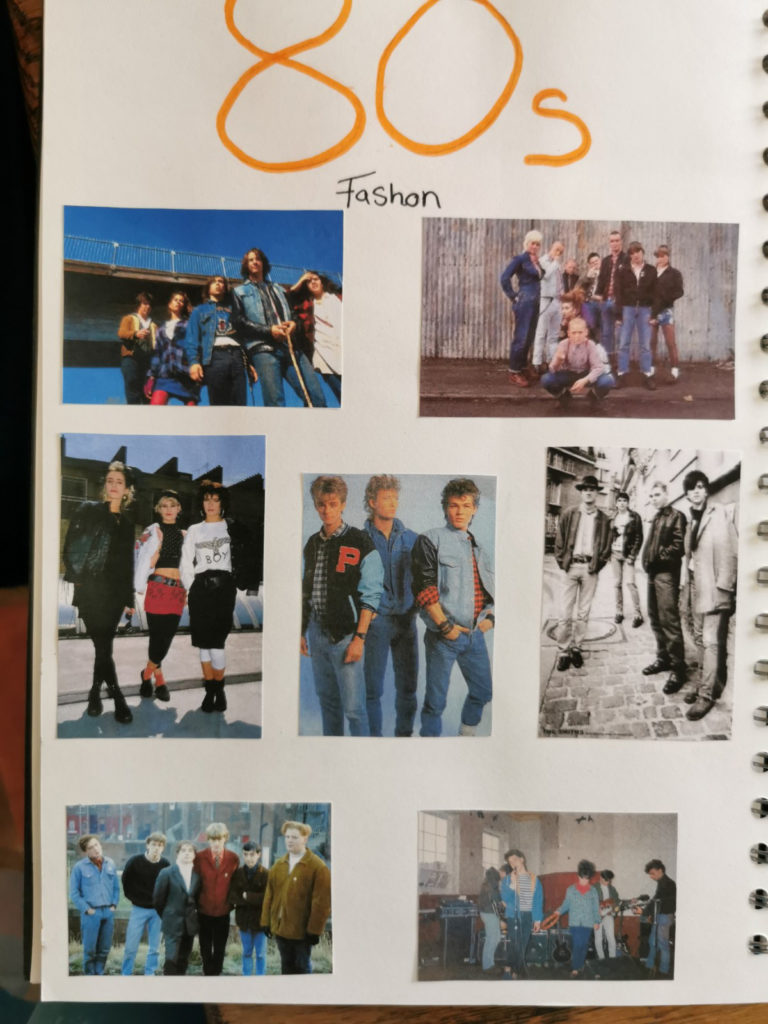
I wanted to create a series of images that looked like they could be from the 70s, 80s, 90s, and the future.
First I had to research styles from those eras.


Research into vintage processing techniques


I researched film photography and was interested in using colour slide film, cross-processed colour slide film, medium format film, and monochrome film. I found out that I would need an enlarger and lots of special chemicals to develop, stop, and fix the negatives and photography paper. I made a shopping list and a budget for everything I would need.


I also researched different studio light set ups:

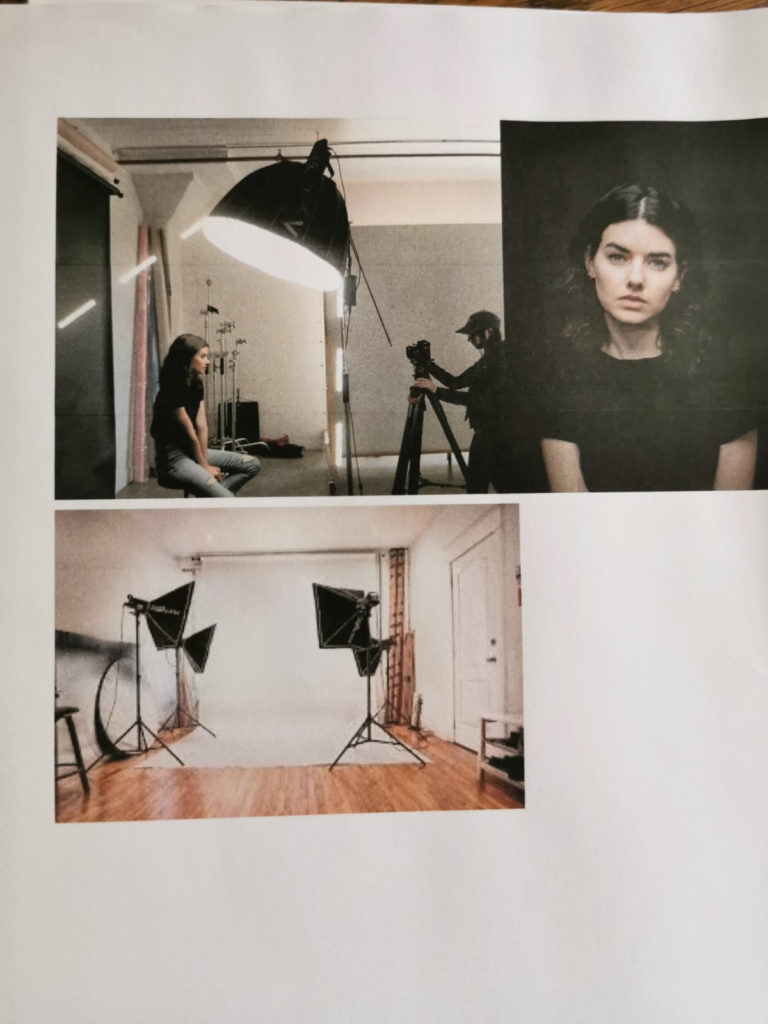
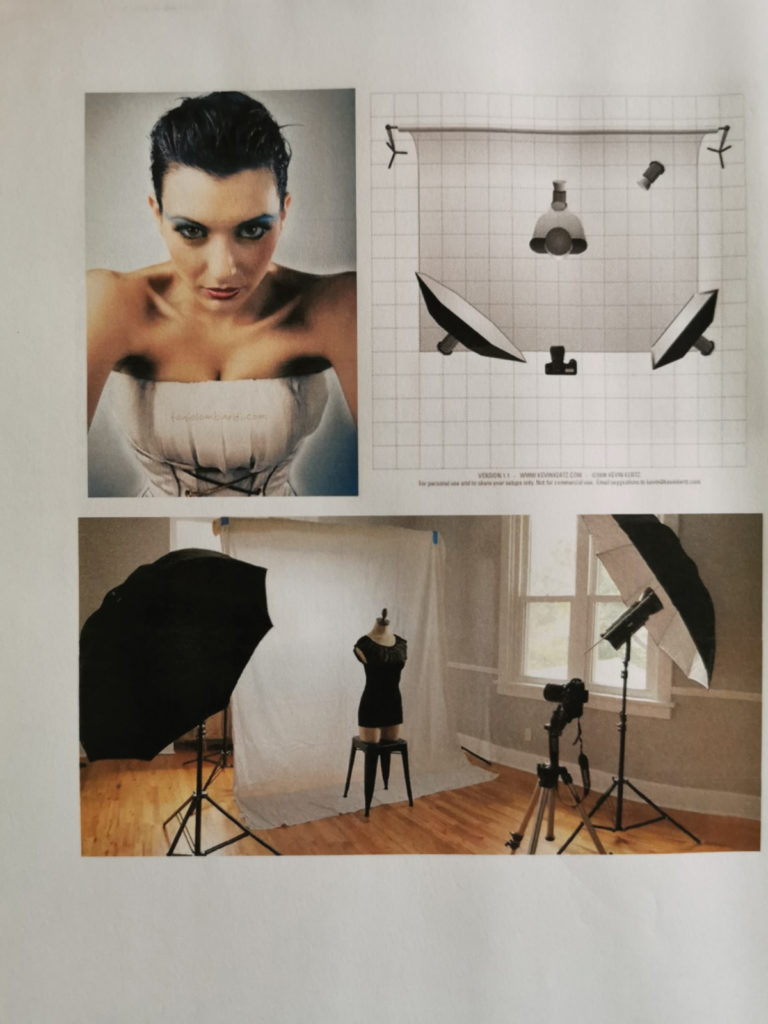
These pictures show some examples of one, two, and three light setups for fashion. We have two lights at school but I found out that I could use a Lastolite reflector to replace a softer light. One of the lights had blown a fuse so I did some research and learned how to fix it myself.
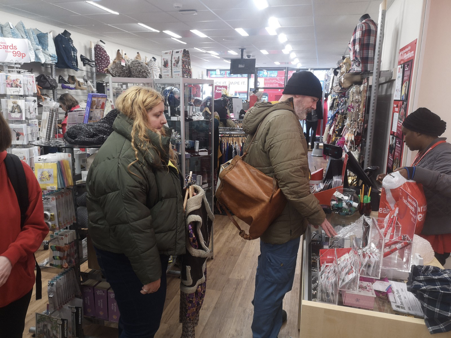
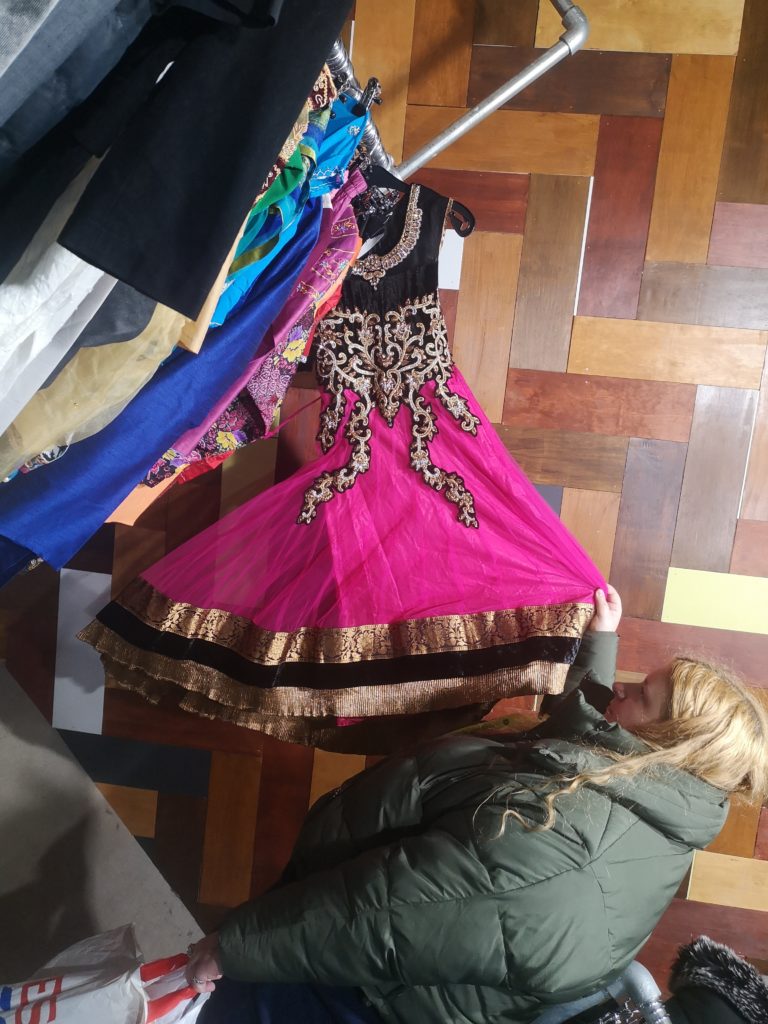
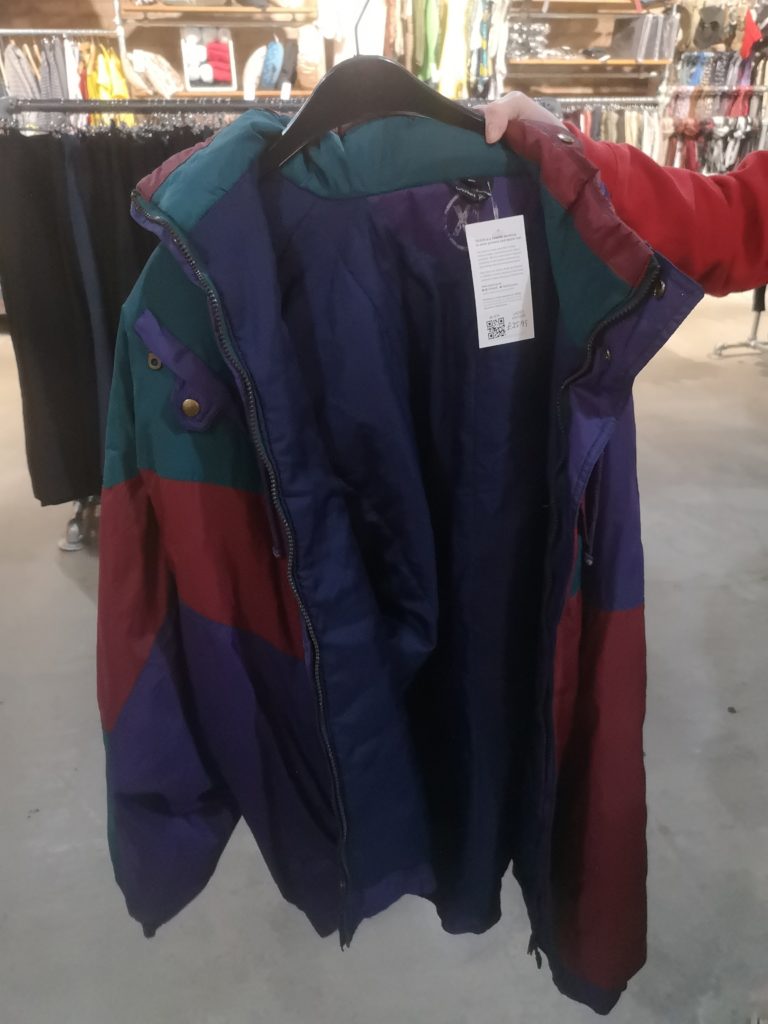
Charity Shop Visit
To find clothes for the earlier eras, we went on a trip to Peckham’s charity shops:


For the futuristic shoot, I decided to make a dress myself using recycled materials. I downloaded a simple dress pattern from the internet and made the base of the dress from supermarket carrier bags, making sure that the branding was clearly visible. Unfortunately, halfway through making my futuristic dress, schools closed and I was unable to complete it. Luckily, I was able to pick up my charity shop clothes before the schools closed completely.
Then the schools closed!!!
Now I was stuck at home the project became much more difficult, we knew that we needed to change everything. I didn’t have any studio lights, camera, or any models. At first, I had no idea what to do. Then me and my teacher did some research into how to photograph clothes without models and we found these images for inspiration.
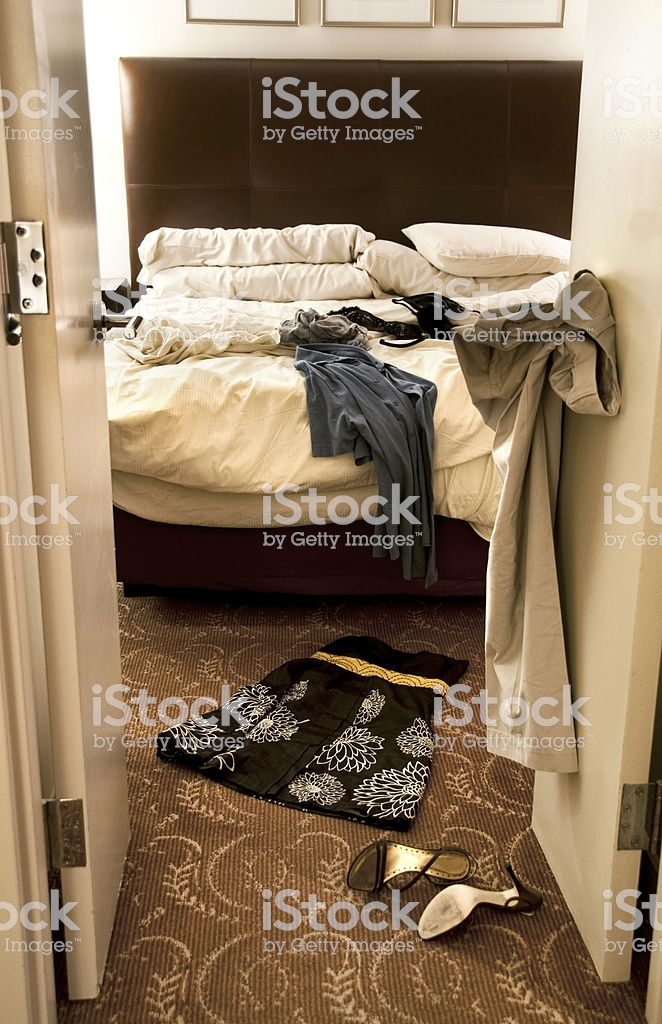
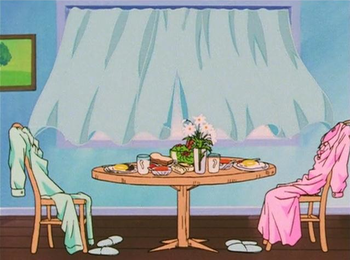
Fashion spread
I decided to take a mixture of photos using my phone. I used the background of a messy bedroom for some of them so that I could suggest a certain lifestyle. I was able to find one model to help me but I also used some of the ideas without a model for the different eras.
The New Images
These are the raw images that I took with my phone before editing. I was sad that I couldn’t use a real film camera, the enlarger or any of the processes that I had learnt about so I tried to replicate these using the Pro settings on my phone. I set some of the photos in the messy bedroom and I kept the background the same to show although the clothes may have changed, teenagers are still the same.
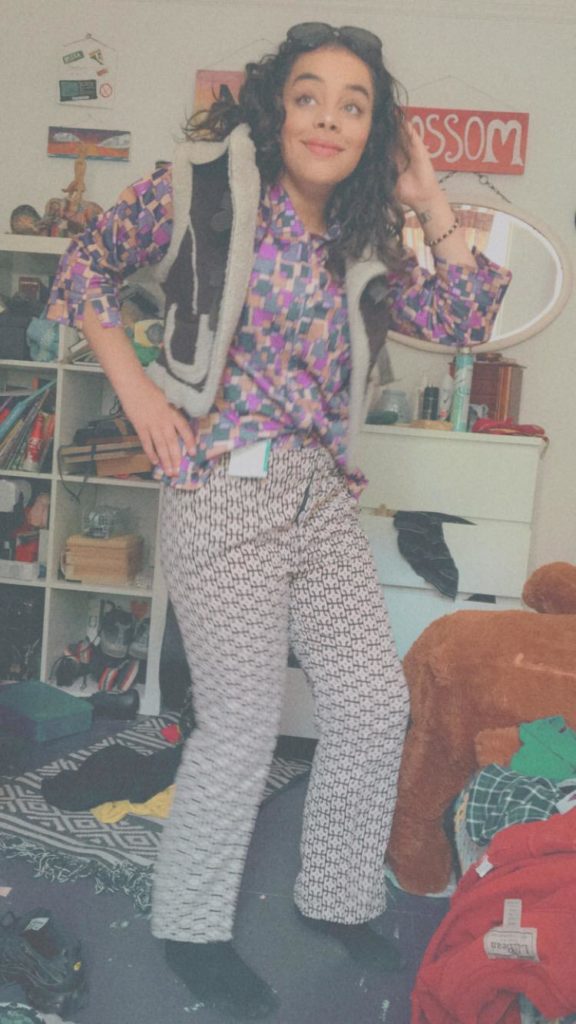
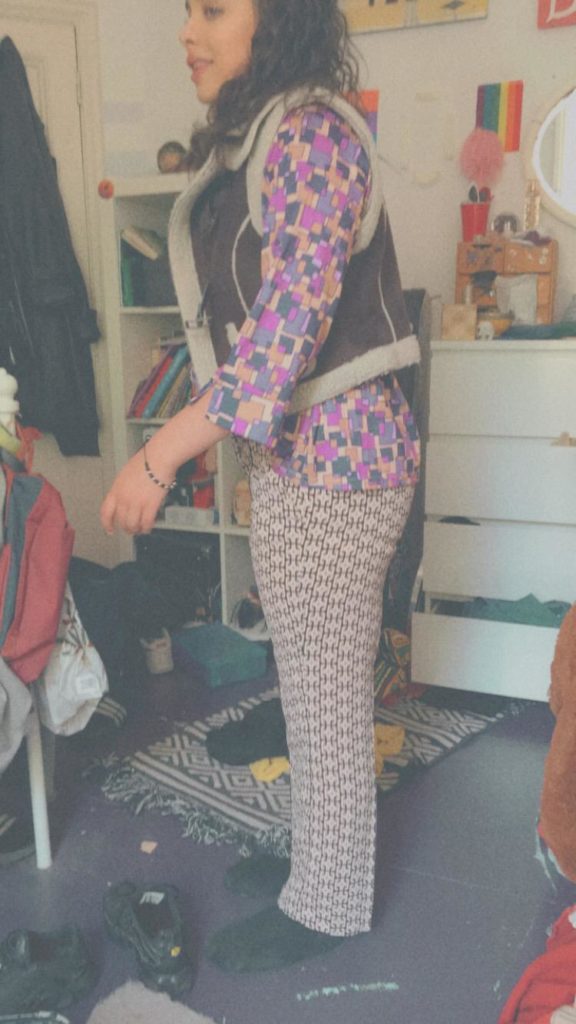
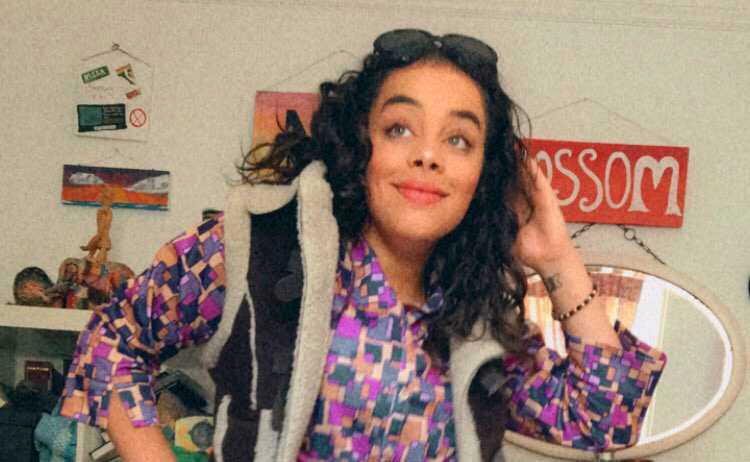
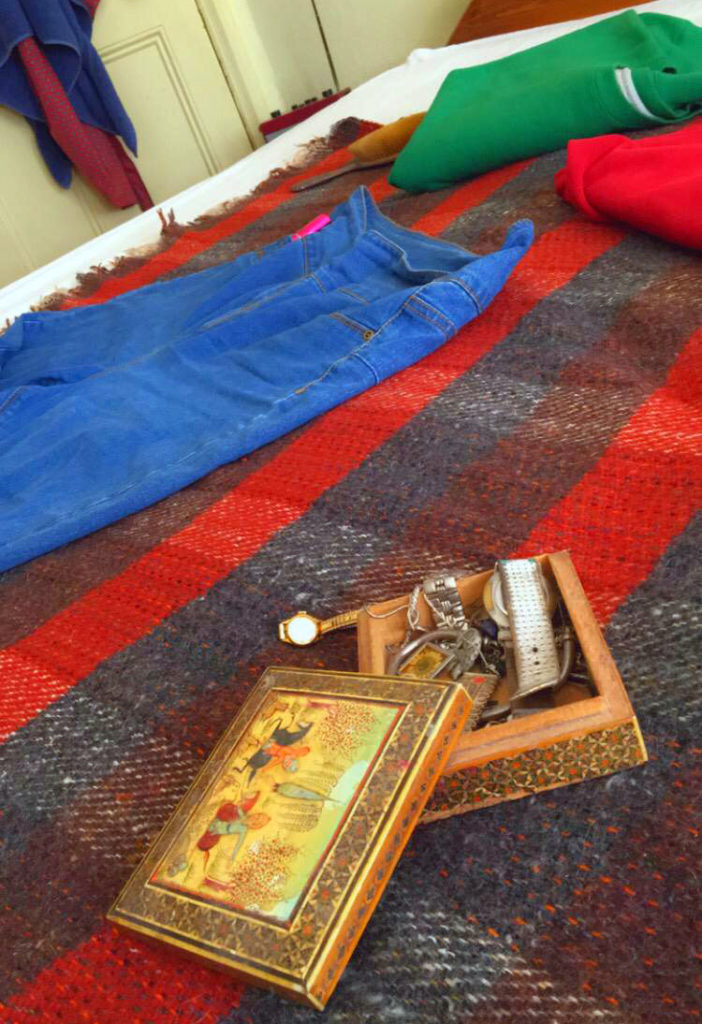
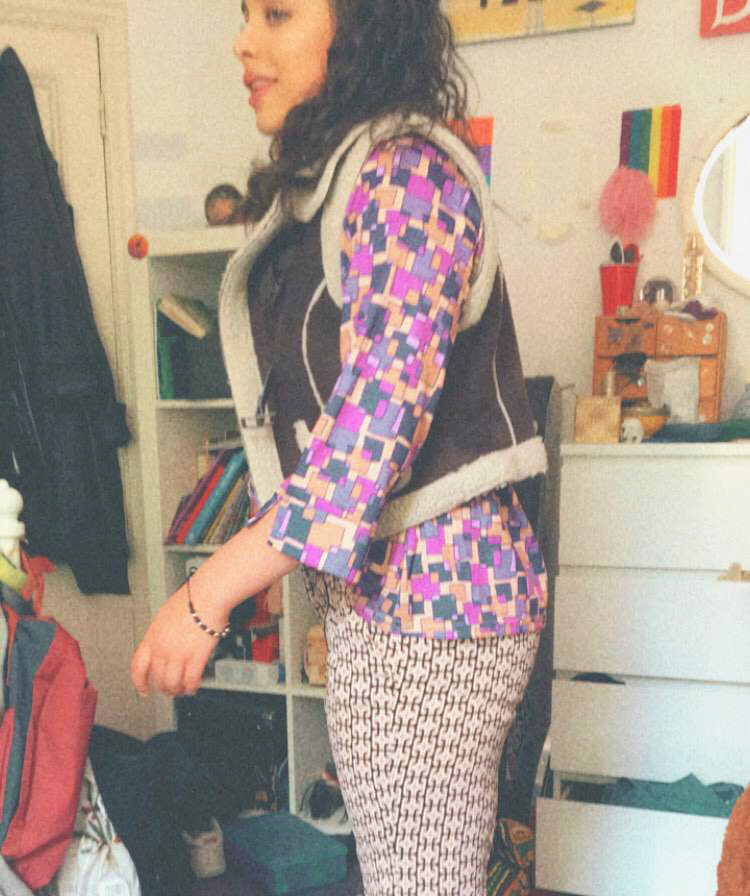
The 70s
Loud shirt, patterned flairs, sheepskin jacket, faded colours, pose that suggests peace, love and hippy life.
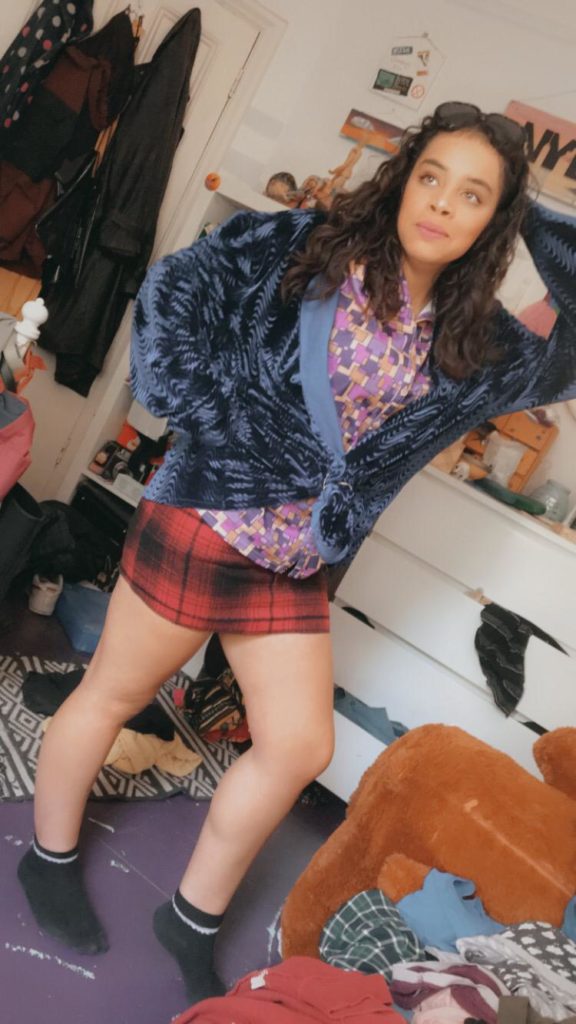
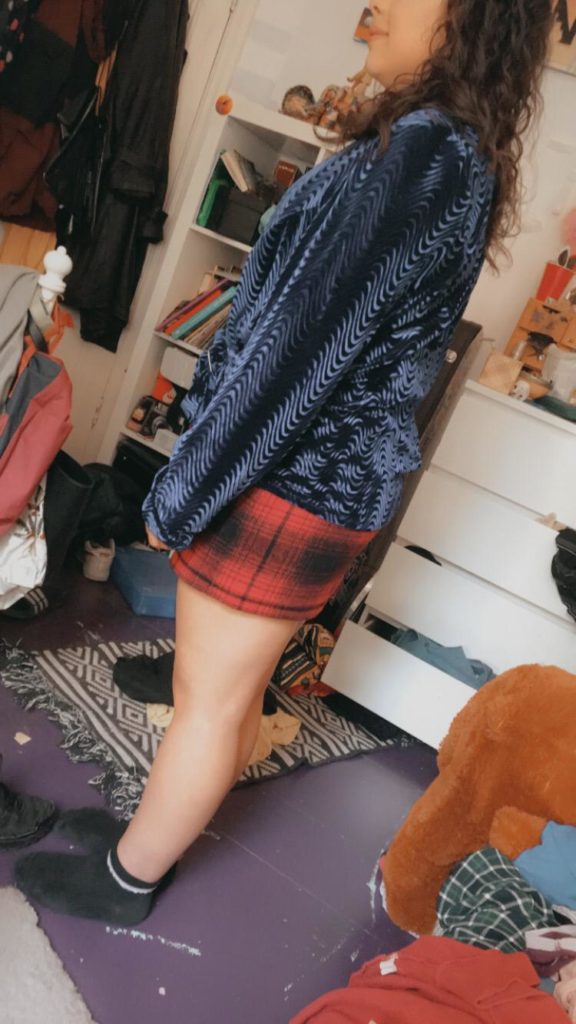
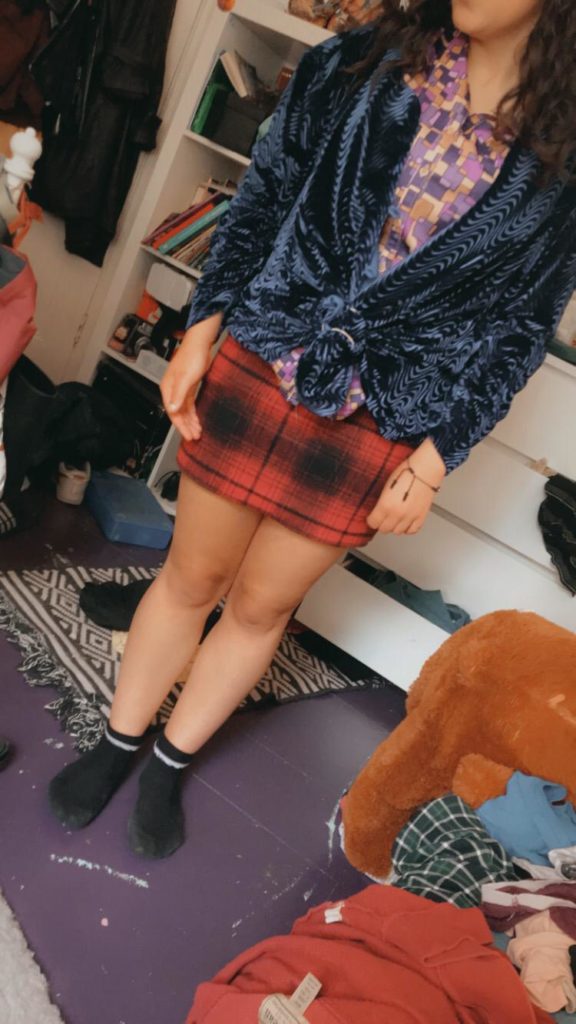
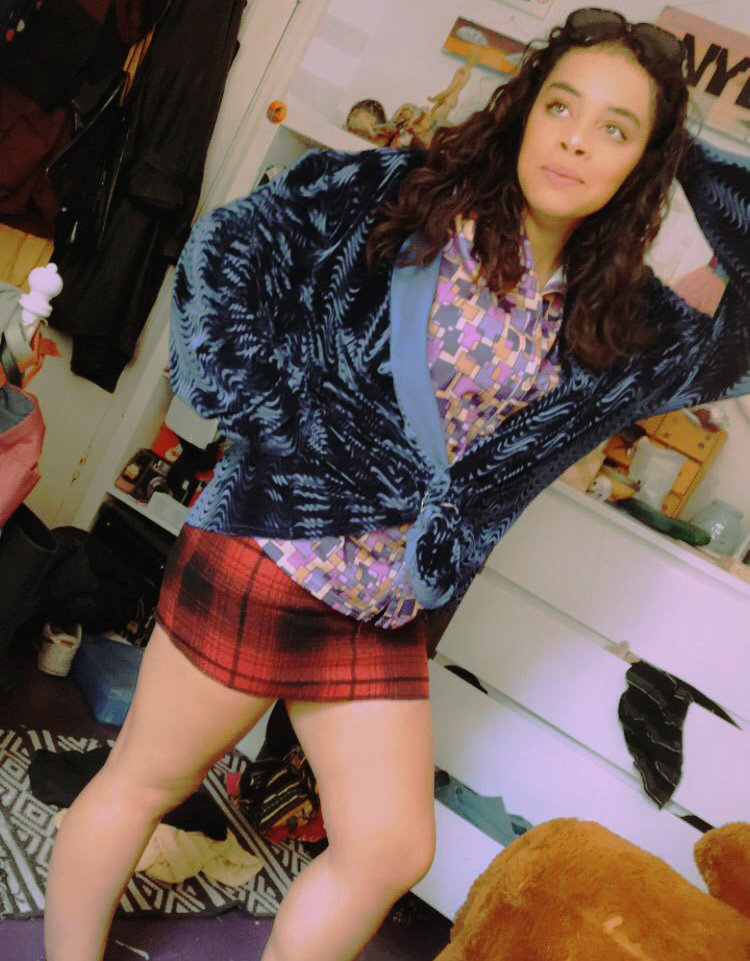
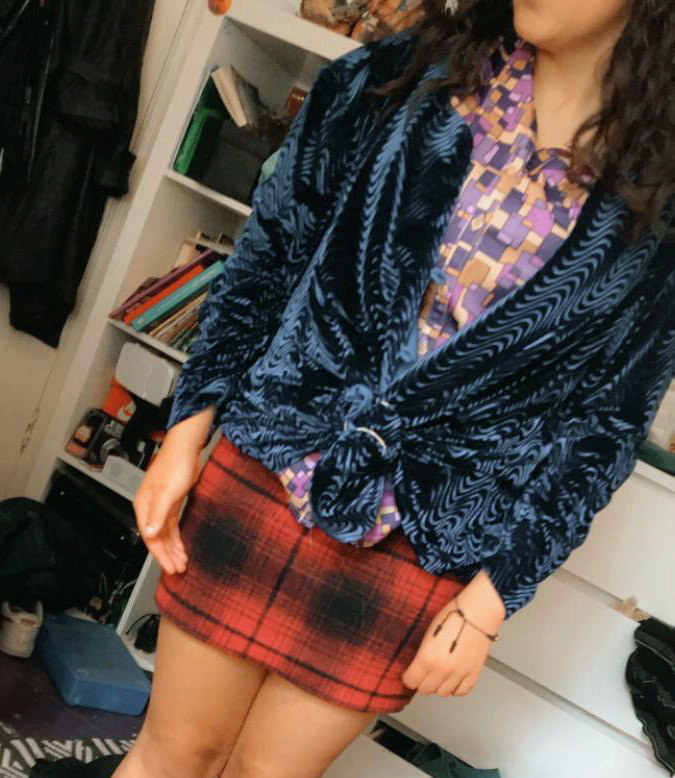
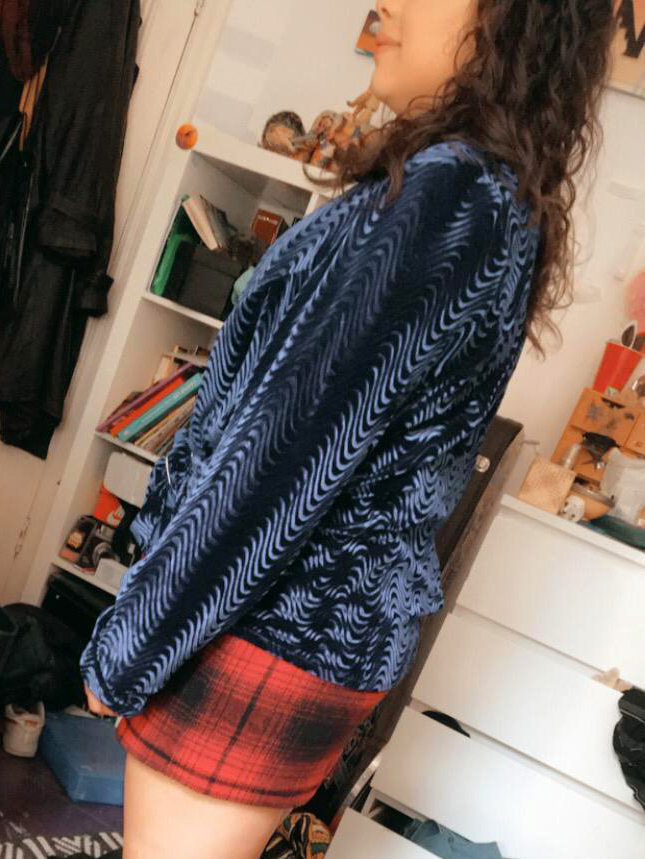
The 80s
Tartan skirt, blue velvet blouse, sunglasses, wet curl hair. Pose that suggests disco dancing.
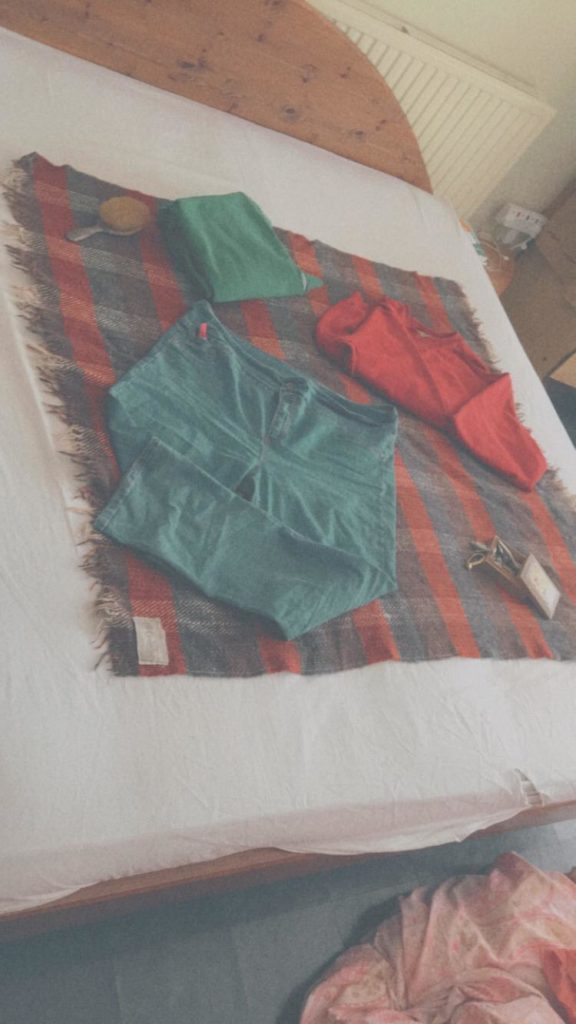
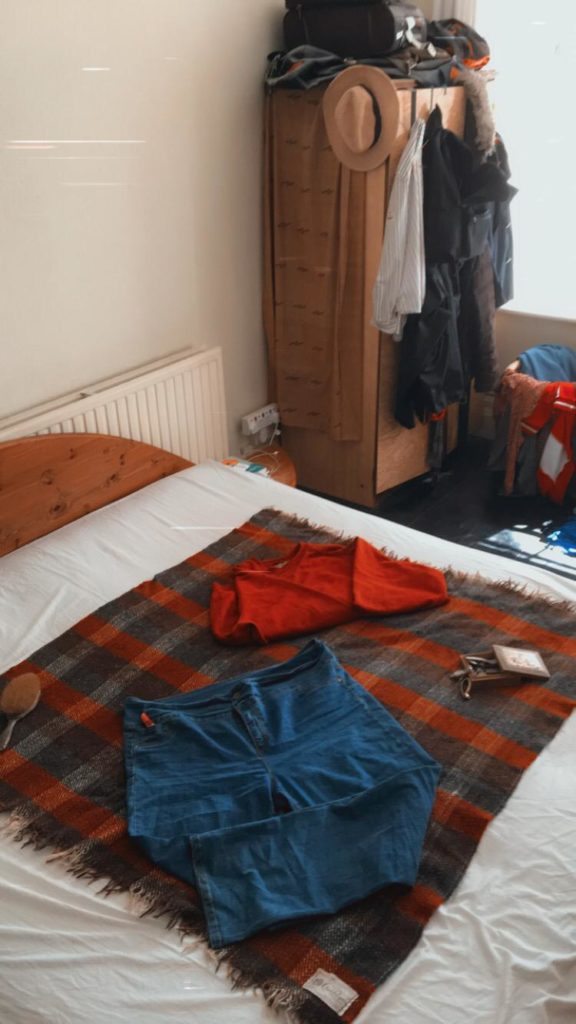
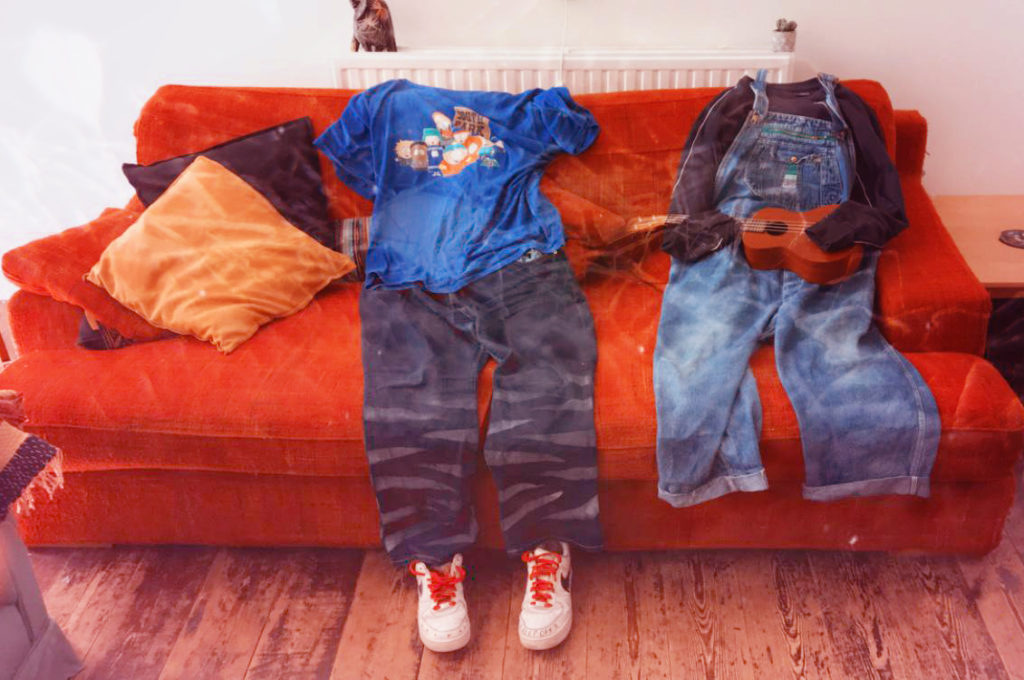
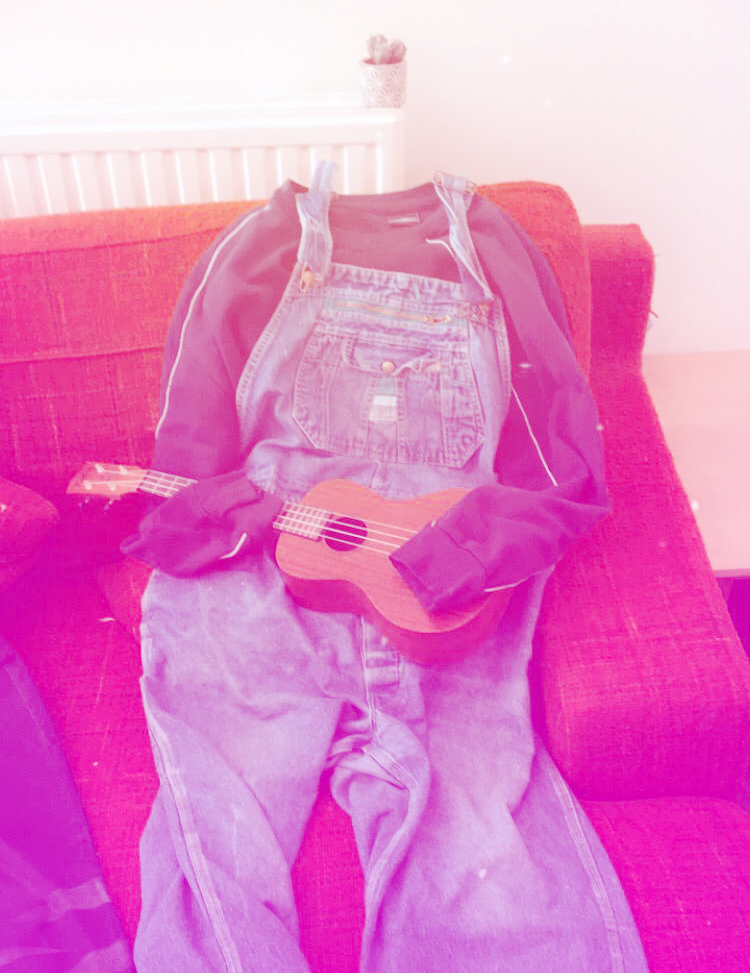
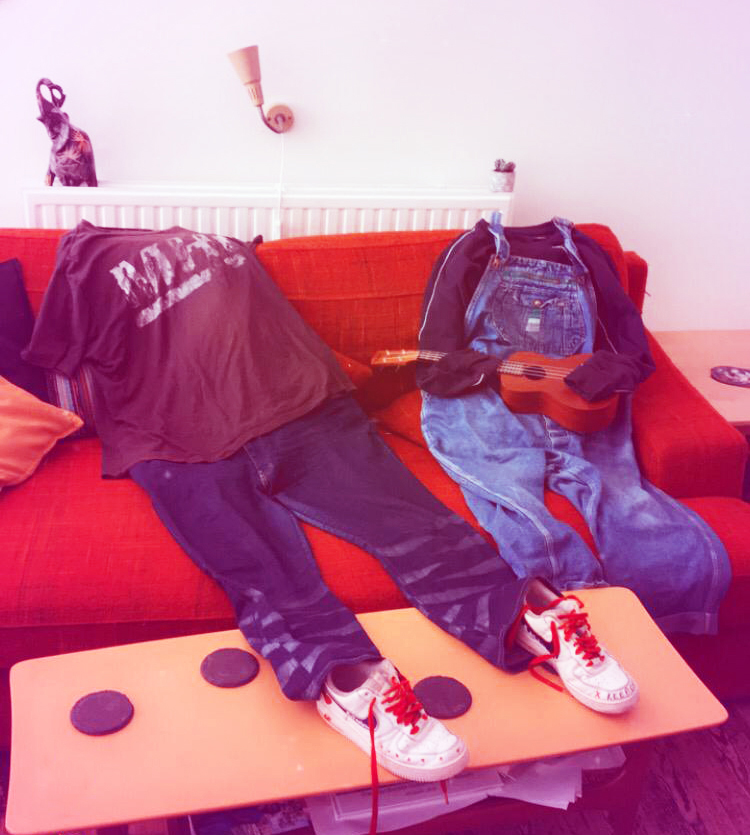
The 90s
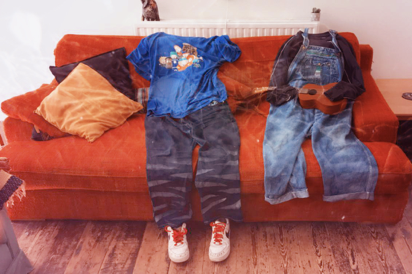
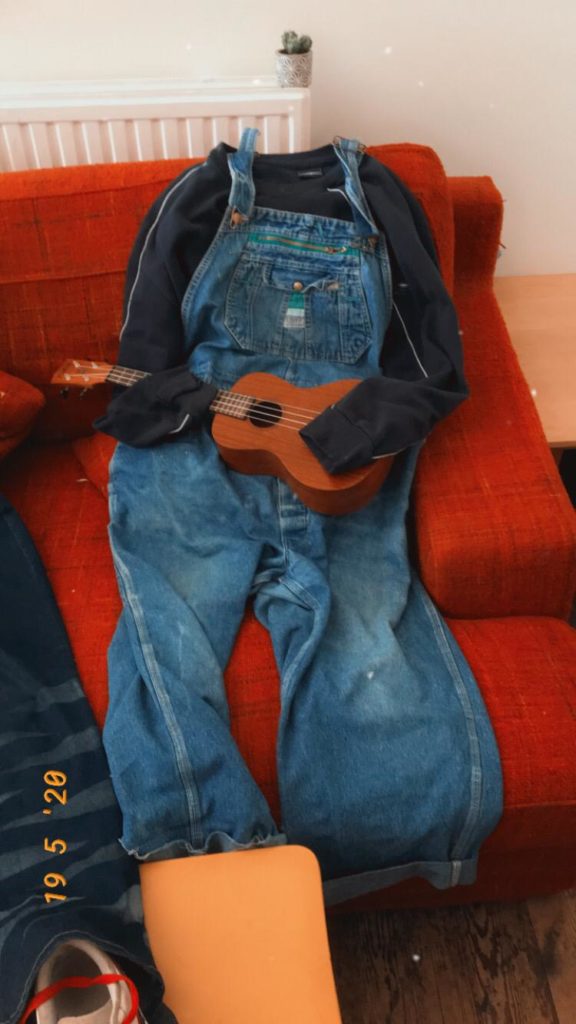
Dungarees, South park T-Shirt, Ukelele. Taken without models to suggest the distance and moodiness of the 90s.
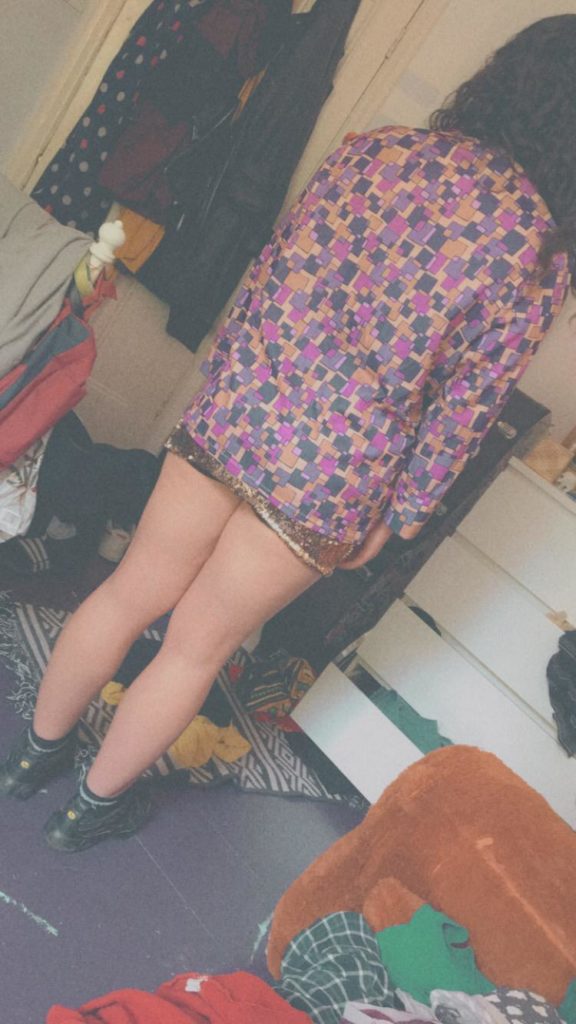
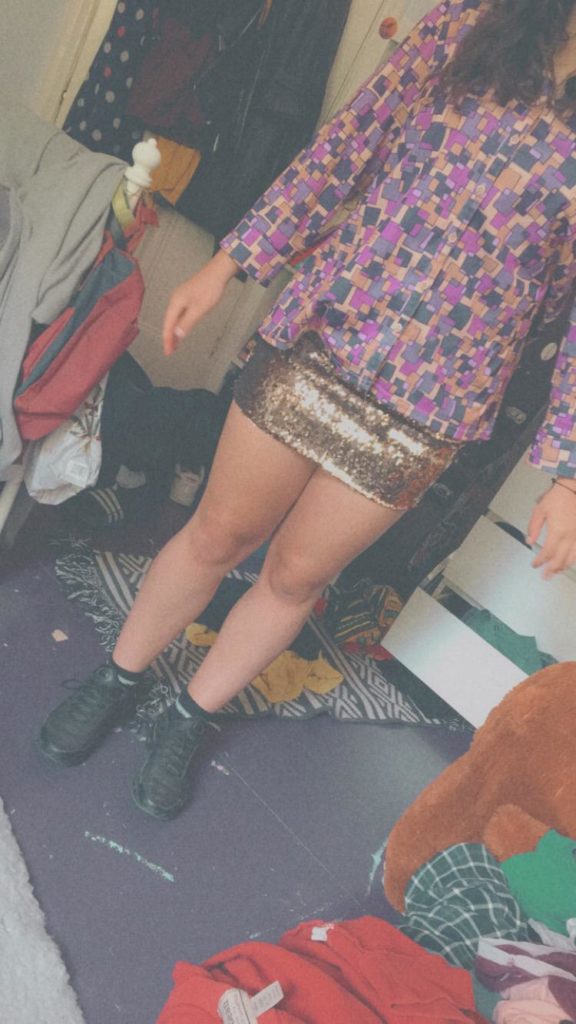
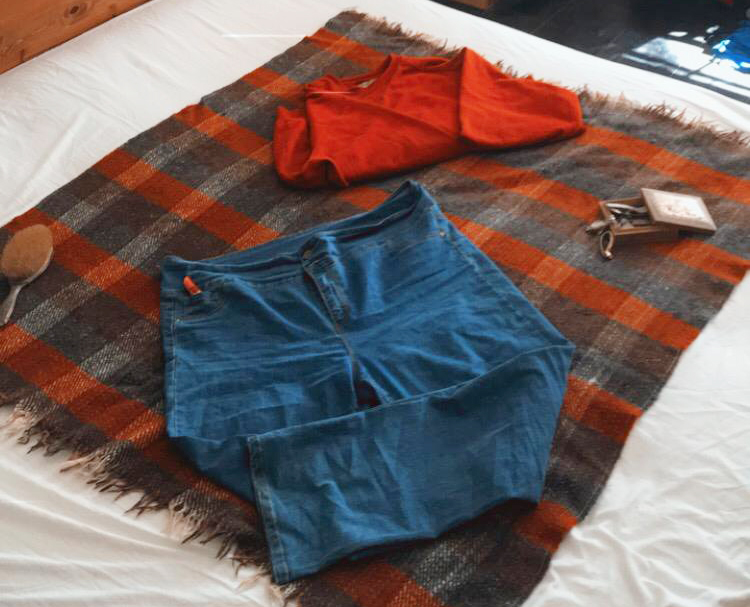
The 00s
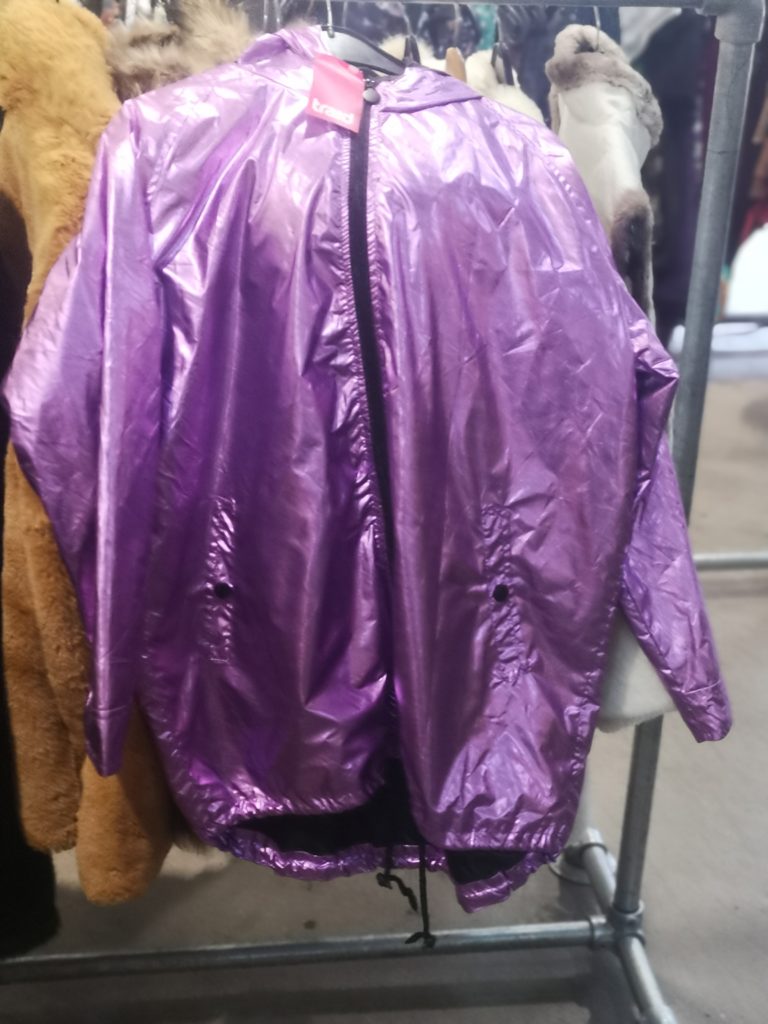
Untucked pink shirt, gold sparkle mini skirt, photos taken from or without head to suggest the way people in the 00s can be anonymous with digital technology.
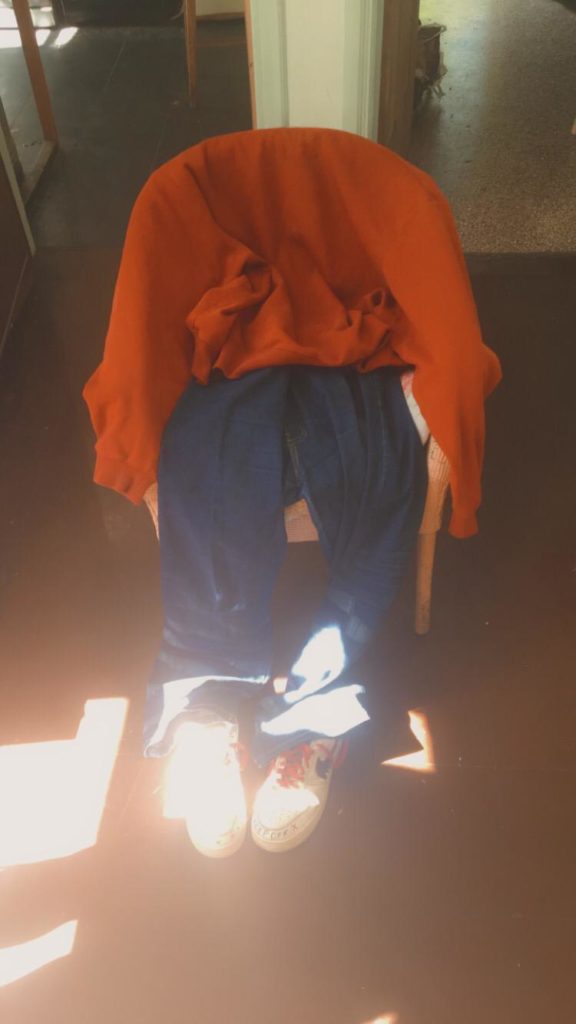
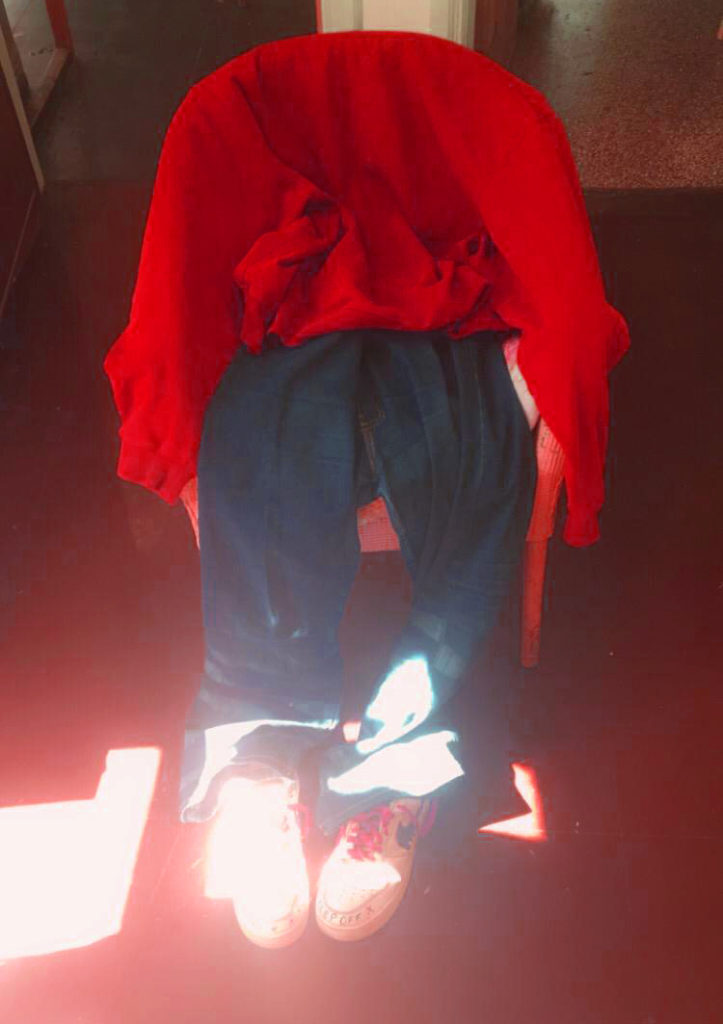
The present day
Comfy sensible clothes because now we are in lockdown we don’t need to dress up.
Editing the Images
I edited all of the images in different ways to reflect all of the different film and processings styles that I had planned to use before lockdown. Here are some examples.
- Cropped
- Contrast Added
Photo 1
- cropped
- I tried a higher contrast but I prefer it softer
- I also tried a red and yellow vintage filter but I preferred it natural.
Photo 2
- cropped
- Again I experimented with increased contrast and brightness but I prefer this natural look.
Photo 3

- I tried a tighter crop but preferred it a bit longer
- I took the yellow out because this is for the 00s and I didn’t like the yellow
Photo 4
- The photo has been cropped and the date stamp removed.
- There is a pink wash on the photo to give it a dreamy feel
- There is a glass texture underneath for a vintage underwater feel
Photo 5

- I experimented with a tighter crop but I wanted the full body.
- Again, I took some yellow out.
Photo 6
- The contrast was increased
- A blue filter added coolness
Photo 7
- This was edited in the same way as the photo above.
Photo 8
- This was cropped
- The brightness and contrast were increased
Photo 9
- This was cropped to focus on the clothes
- This also has a dreamy pink wash.
Photo 10
- This was cropped and brightened
- I experimented with adding yellow but it was too much so I returned it to natural
Photo 11
- Cropped
- Date stamp was removed
- A pink gradient was added to make it look dreamy
Photo 12
- This was cropped
- A red filter was added to the picture
Photo 13
Click here to see my online exhibition of the final images!
Feedback
My Feedback Survey from Typeform
My Evaluation of this project
My original idea was to make a timeline of different eras through fashion. I love fashion of the 1970s and 1980s and I wanted to compare that with the fashion in 2020 and show how much things have changed throughout the years. By using the same model and location I wanted to suggest that even if the clothes change, people have similar feelings towards fashion and about the world around them.
During the project I discovered how much is involved in taking good pictures, especially for something like a fashion magazine. I just thought that you had to get good lighting, take the picture, and then you’re done, however I discovered a lot more about everything that goes into a fashion shoot. You have to consider all of the different studio equipment, you have to find the right clothes and the right props. Even though I didn’t get to use all of the processing techniques I had planned, I found out so much more about where words like “filter” and “cross-process” come from. These aren’t just names for things in an app like Instagram they have a history in the photography industry, just like the clothes have a history in the fashion industry. Working with Izzy Parker also showed me how much is involved in a shoot, it was really interesting to see inside her studio and see all the little fiddly bits she has around and then the high tech computer equipment she uses to produce finished images.
I learnt how to set up studio lighting when I was at school which I had never done before. I’ve always just taken photos on the go with my phone, my polaroid, or my SLR and so learning how to set up the lights was really interesting. Then when I was stuck at home without the studio, I was able to consider the lighting in a different way and use reflective surfaces and lamps to recreate some of the effects I’d learnt at school.
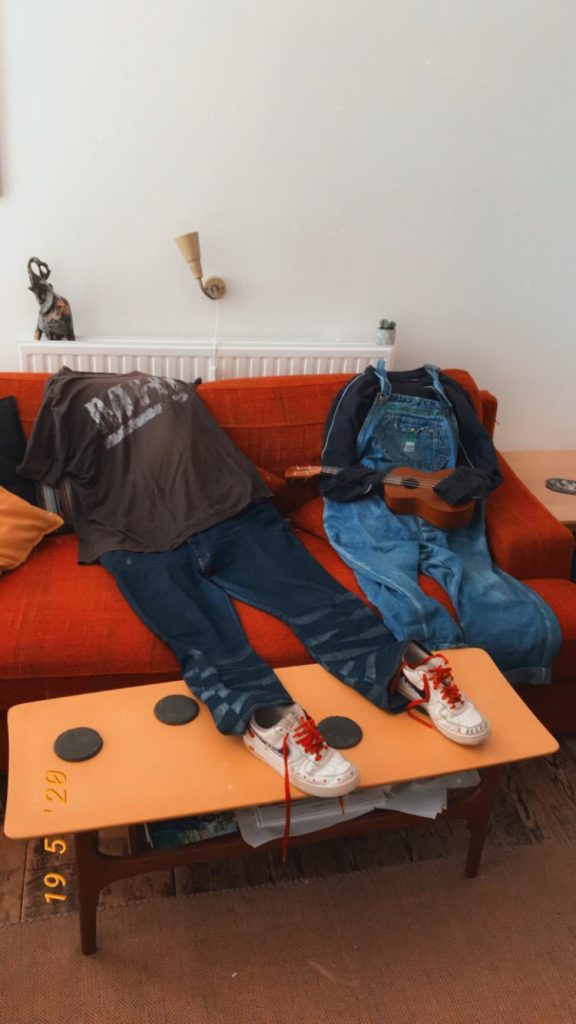
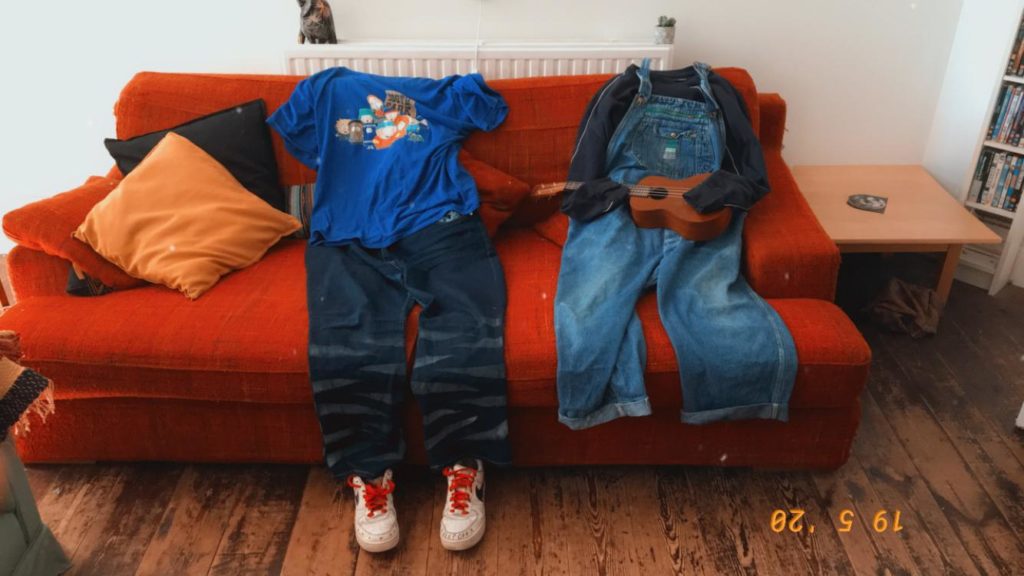
When the schools closed, I had to change a lot and adapt the project. My house became the studio. I asked my friend to cmoe and help model for me which she did. Instead of using models for all of the shoots I put the clothes out on my sofa and made it look like there were people in it that had disappeared which was interesting actually because so many people disappeared from the streets while the virus was really serious so it kind of reflected the times.
Other people seemed to enjoy my project and I was really pleased with the feedback that I got, especially these comments that I received “I especially liked the photographs with no models in them. Somehow seeing the clothes in isolation like that made them even more emblematic of the era, and that’s something I could imagine seeing in a real exhibition,” and “Really good representation of the decades through the choice of clothing, the styling, placement and framing of model and clothes in each shot. They convey the moods of each decade as well as commentary of the social climate.”
If I was able to do this project again, I would focus on the background more and perhaps use an outdoor location. I was primarily focussed on the clothes but some people made comments like “I don’t think it came across that the messiness of the bedroom/background was meant to indicate that you were staying at home – perhaps if the background had also been staged to look like a bedroom of the appropriate era, that would have helped.” Again, looking at Izzy Parker’s process made me realise how much you need to consider every element of a shoot. Of course, I would still really love to use some of the vintage photography techniques that I had planned to learn in this project and I hope that I am able to do that in the future.